
BDC Home Telemedicine
Dexcom Upload Guide

Follow the steps below to upload your Dexcom CGM to Clarity.
If you are also using an insulin pump, you need to upload it separately. See pump upload guide.
Before you get started
How are you receiving your Dexcom readings?
| Using the mobile app... | Using the Dexcom receiver... |
| Your data are already in Clarity. Double check you are sharing with clinic from Clarity with the same account you use on the mobile app. | You will need to manually upload your Dexcom receiver using the Clarity Uploader. |
| See Mobile App instructions | See Clarity Uploader instructions |
Choose your upload method below:
Get ready to share.
Before you get started:
Have you previously set up Clarity and shared your data with clinic?
| If yes, your data should still be sharing. Check Clarity to see that your data are synced from the app and sharing with clinic. |
If you recently: Created a new account on the mobile app
Unlinked sharing with clinic
Switched to the mobile app from the Dexcom receiver within the last 2 weeks
|
What you'll need:
- A computer, tablet, or smartphone
- Reliable network connection
Get Started.
Log in to Clarity
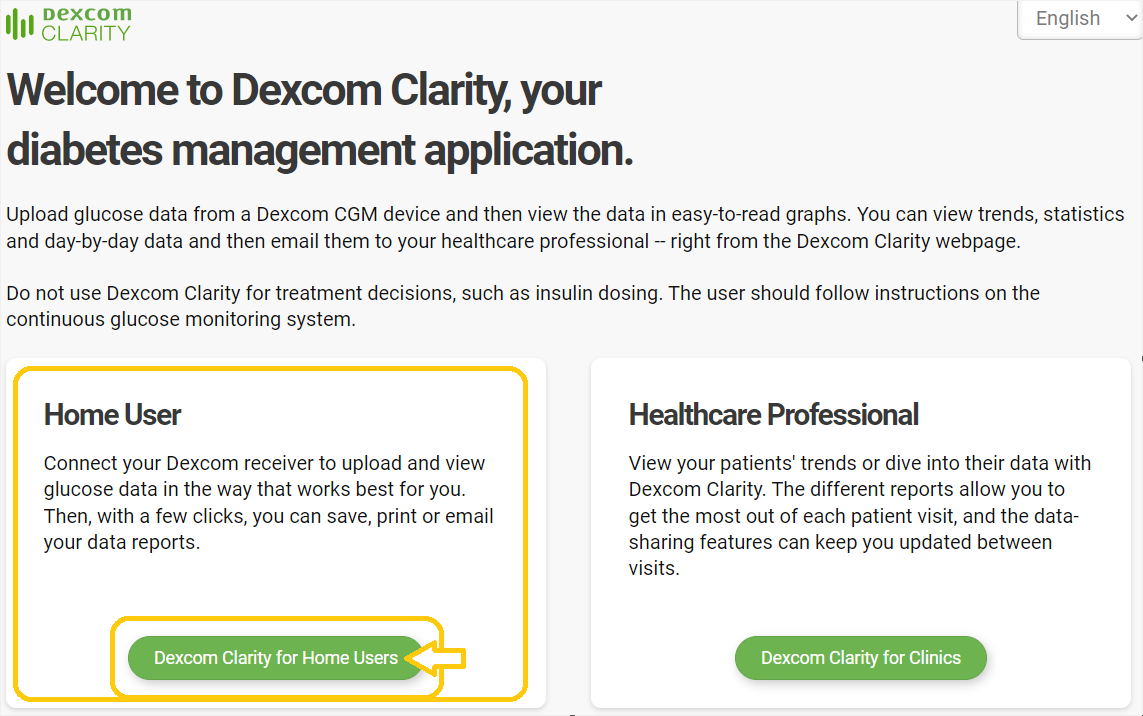
Go to clarity.dexcom.com and select Home User.
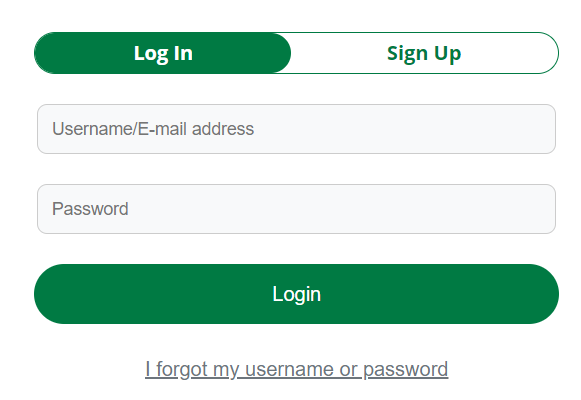
Enter your username and password click Log in.
You must use the same username and password used on the G5 or G6 Mobile App to receive your sensor data.
Check your data
On the Overview tab of the Summary page, check that the data displayed are current.
Default view is the most recent 14 days of data available. The through date should be the current date or the latest date the sensor was worn.
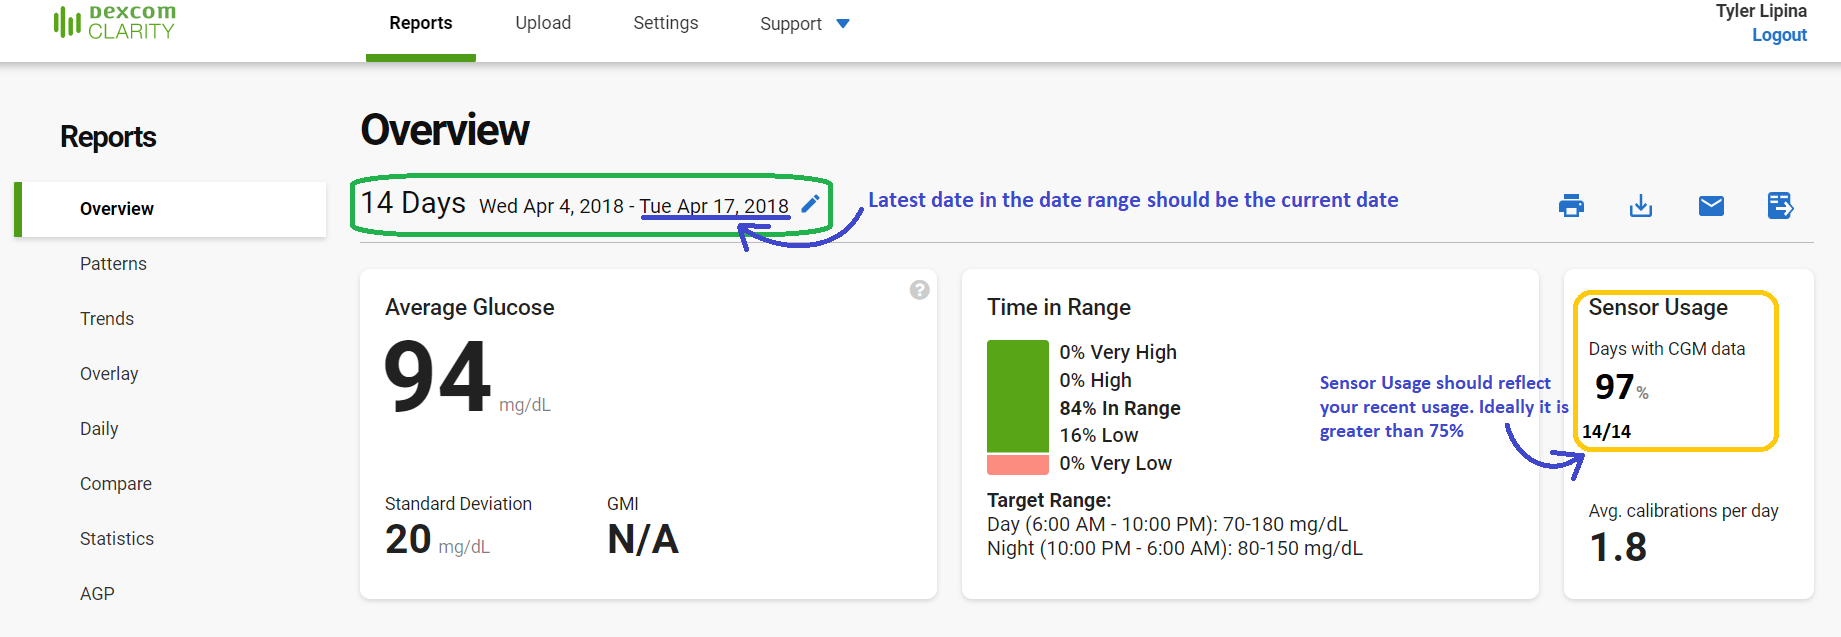
If you are logged in with the correct account, you should see an overview of your recent data.
If you see current data, continue below and share your data.
If you are not seeing current data and you have been wearing your Dexcom within the last 14 days, make sure you are logging in with the correct account and have been receiving data on the phone app.
If you have been using the Dexcom Receiver, you will need to upload manually. See the Clarity Uploader tab for instructions.
Get ready to upload.
Before you get started:
Are you using the G6 Mobile app or G5 Mobile app?
| If yes, your data sync to Clarity automatically |
See the Mobile App tab and view the Share instructions below. |
What you'll need:
- Your Dexcom receiver
- A USB cable (micro)
- A computer running Windows or Mac
- A reliable network connection
Get Started.
Log in to Clarity
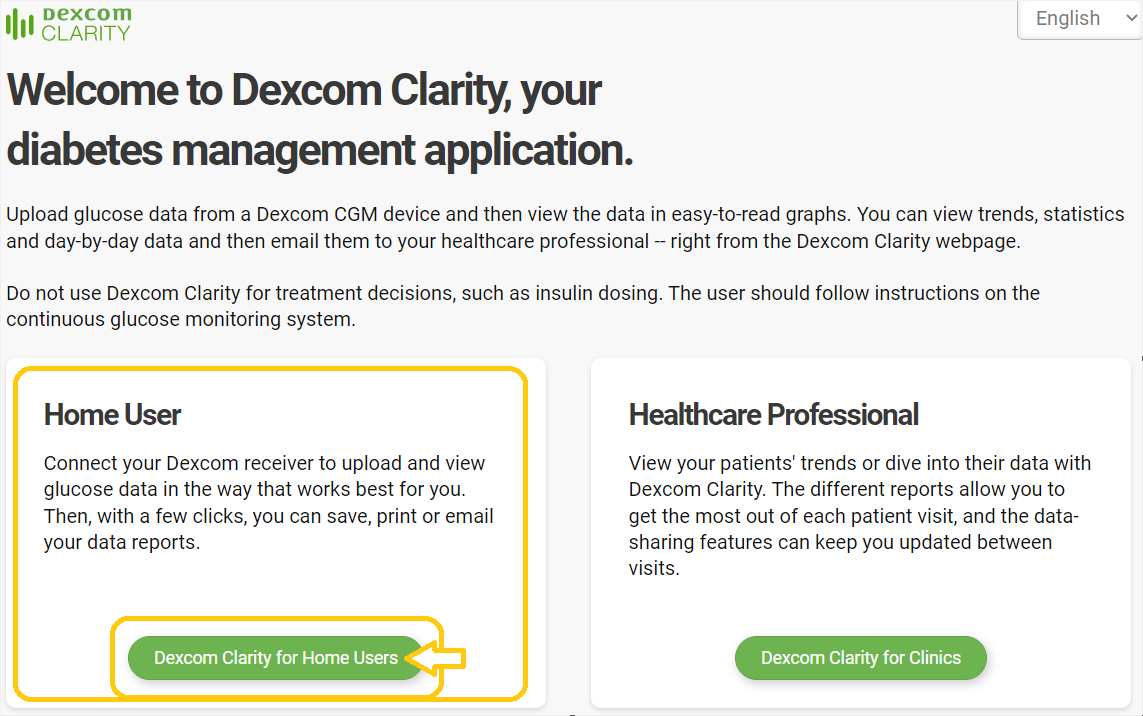
Go to clarity.dexcom.com and select Home User.
Enter your username and password click Log In.
You must use the same username and password used on the G5 or G6 Mobile App to receive your sensor data.
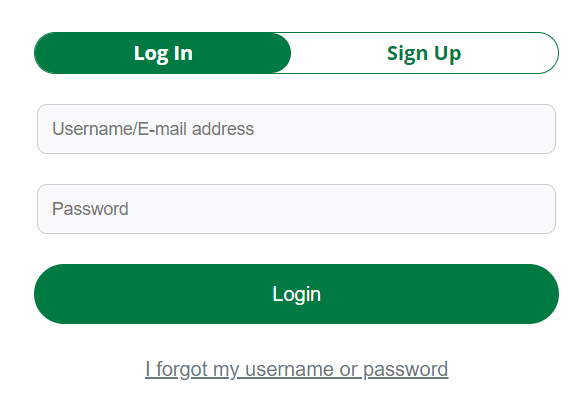
Install the Clarity Uploader
Go to the Upload tab.

Clarity will check to see if the Clarity Uploader is installed on your computer.
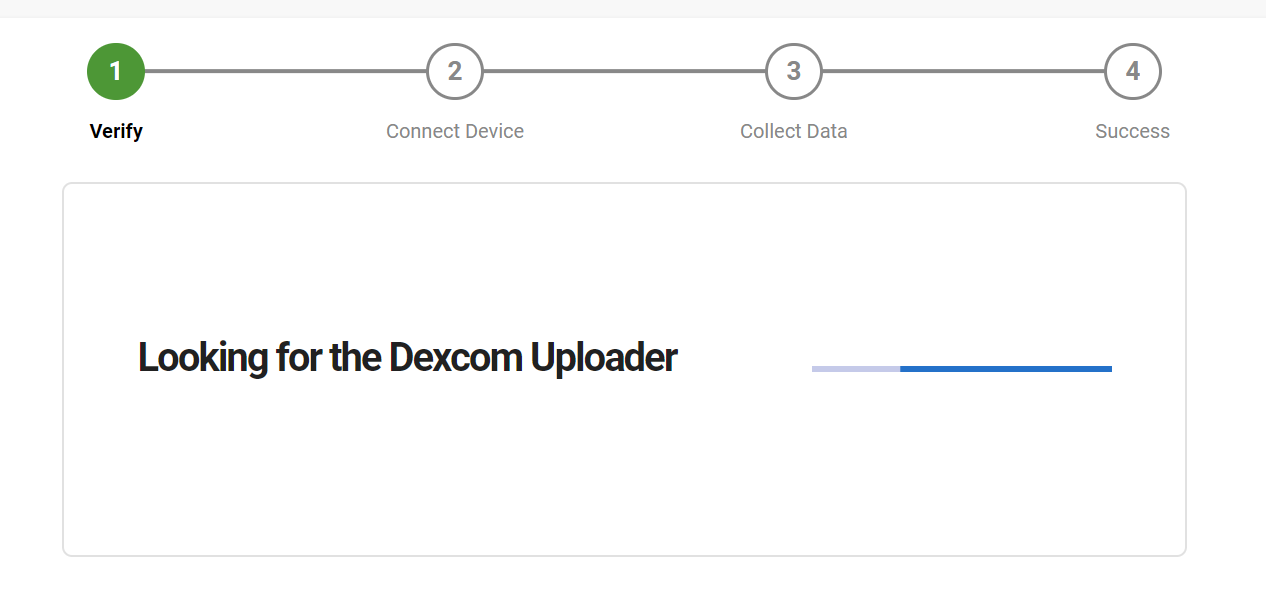
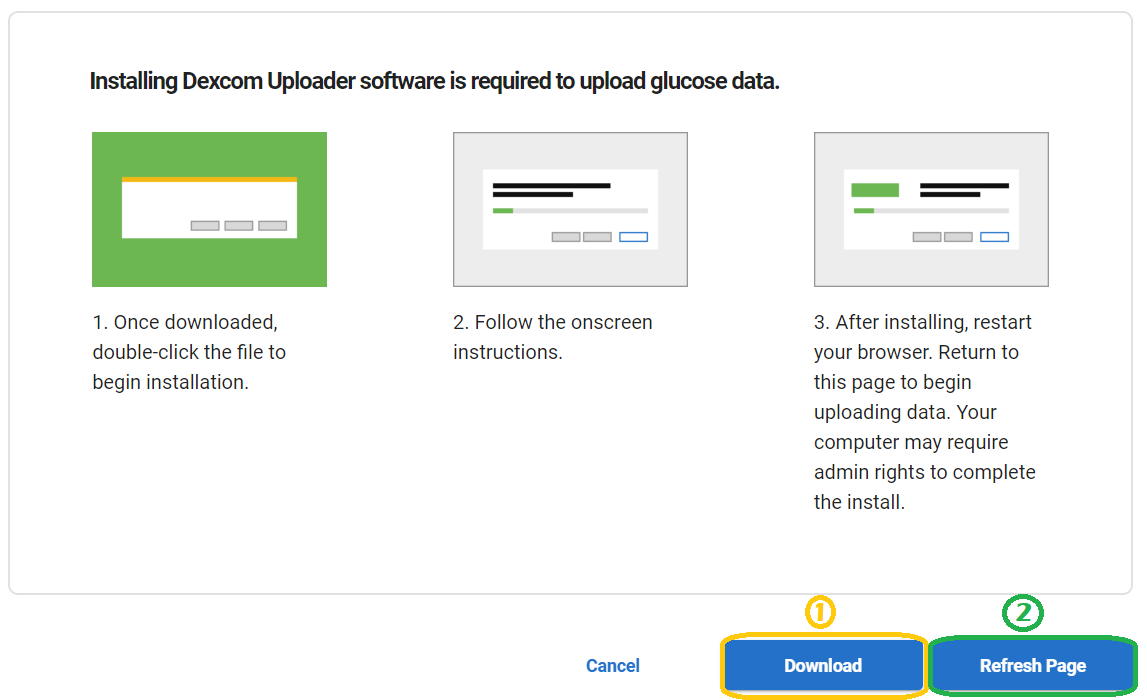
If it is not installed, you will be prompted to download and install the required software.
Click Download (1) to start the install.
Click the download to open the package. If prompted, select Run.
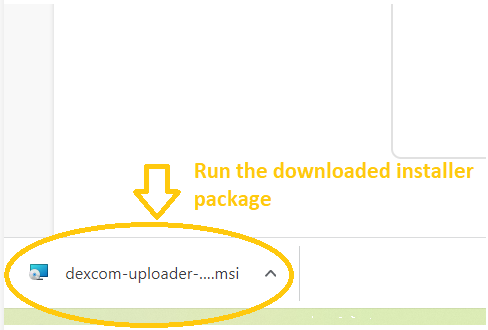
Accept the License Agreement and click Install.
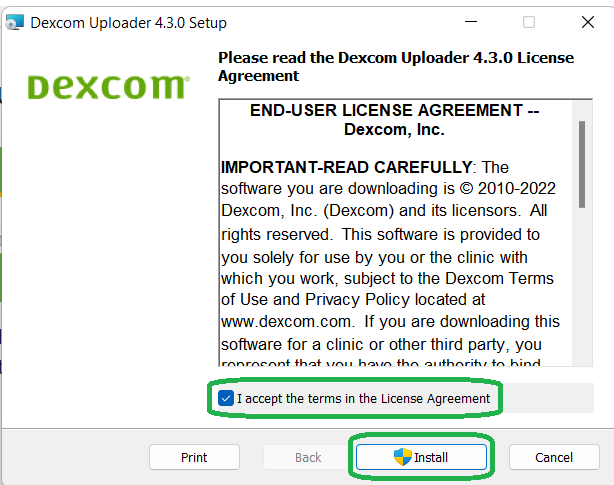
If prompted, allow the installer to make changes to your computer.
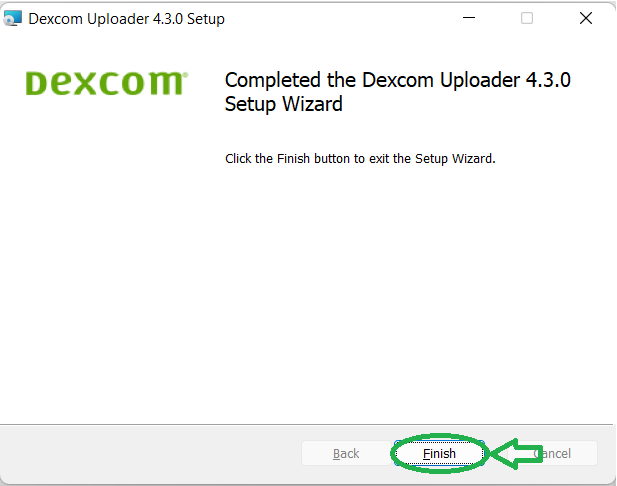
Click Finish.
On the browser window, click Refresh Page (2).
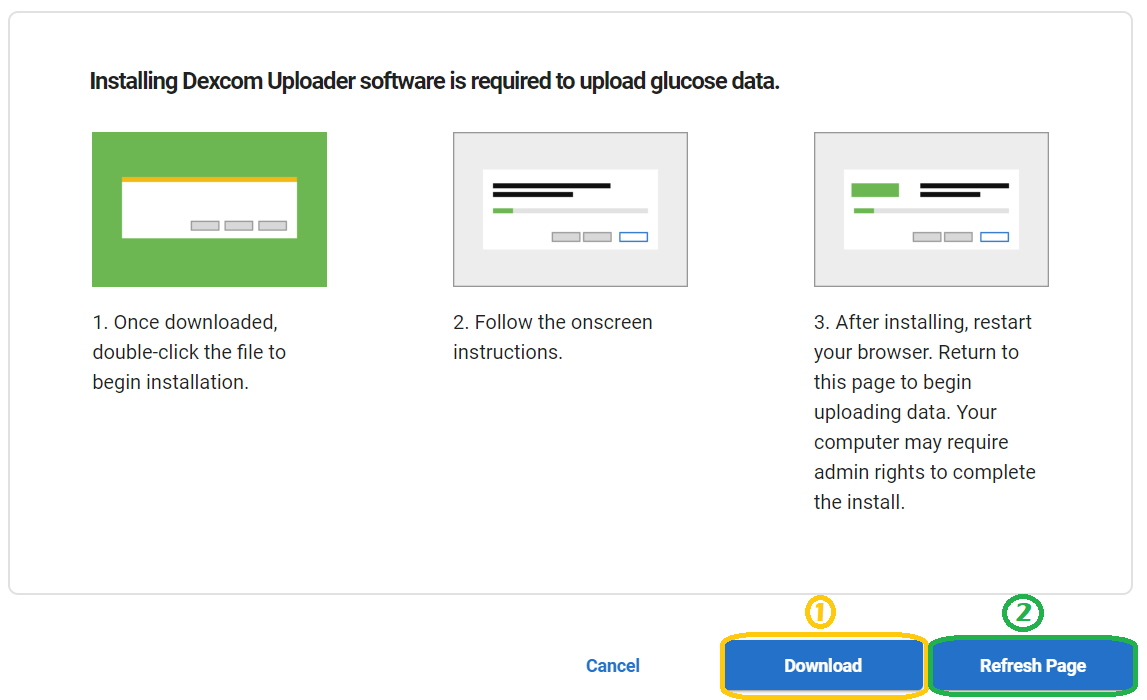
Once refreshed, the Uploader should be recognized and you will be prompted to plug in your receiver.
Plug in your Dexcom receiver
When prompted, plug in your receiver and click Upload.
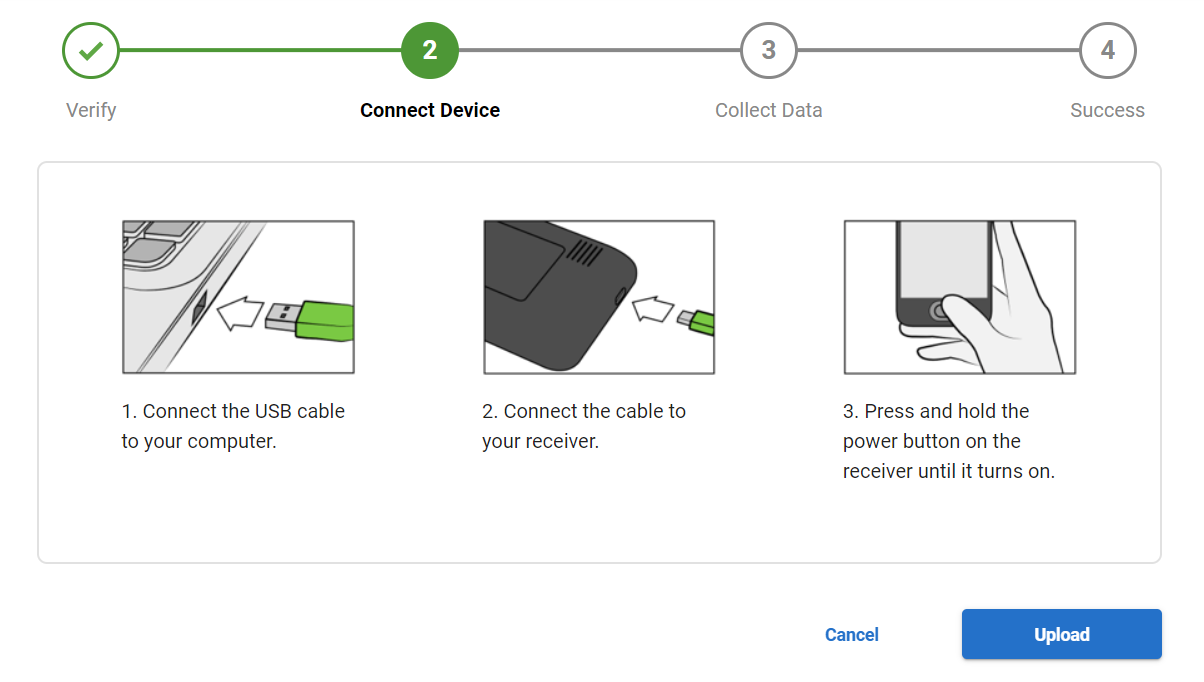
Allow the upload to complete
The Uploader will upload your Dexcom data to the cloud.
If your device is not recognized when plugged in or the upload does not start, try a different USB cable. The cable may be at fault even if the device is charging.
You will be notified once the upload is successful.
Check your data
On the Overview tab of the Reports page, check that the data displayed are current.
Default view is the most recent 14 days of data available. The through date should be the current date or the latest date the sensor was worn.
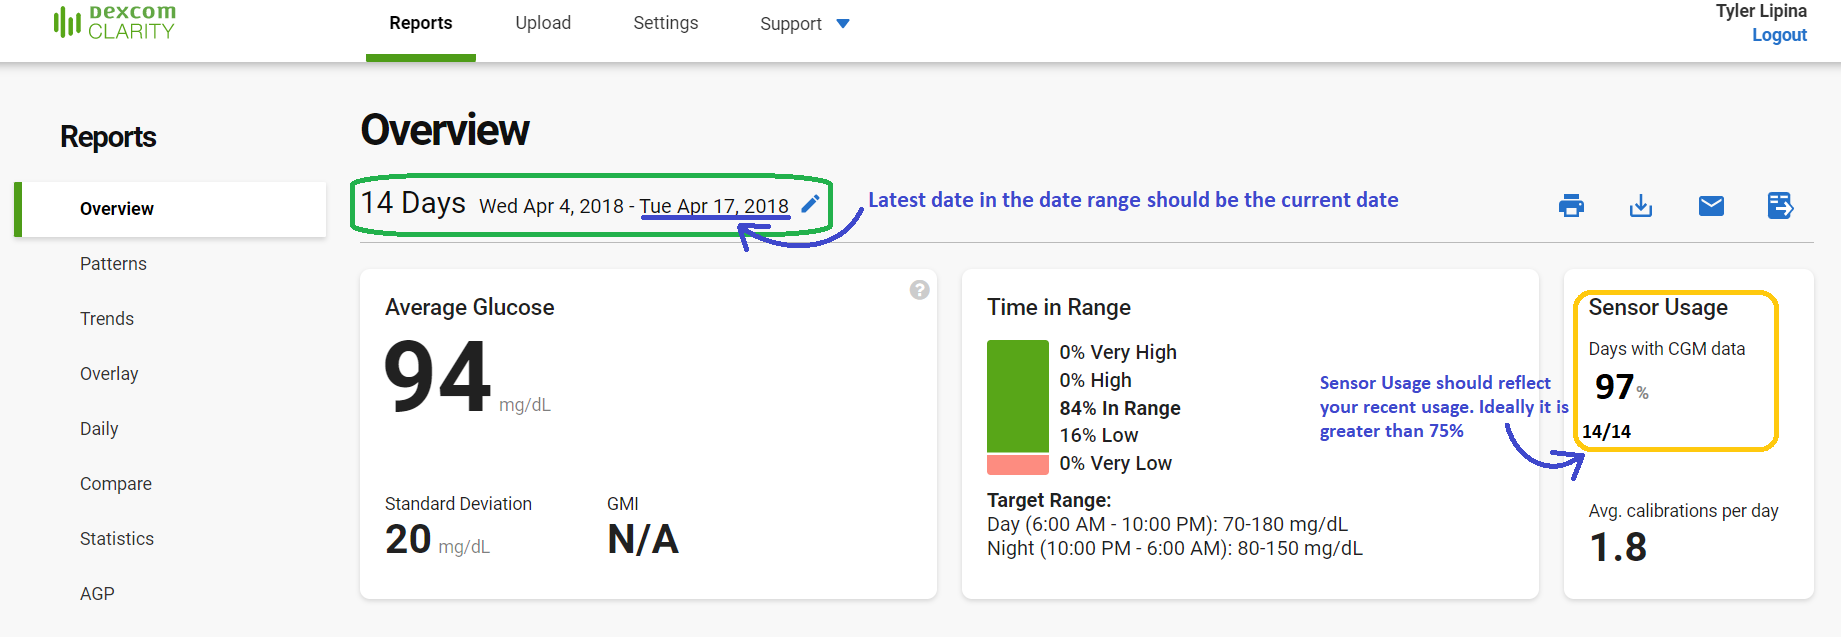
If you see current data, continue below and share your data.
If the data are not current, retry the upload.
Check if you are sharing
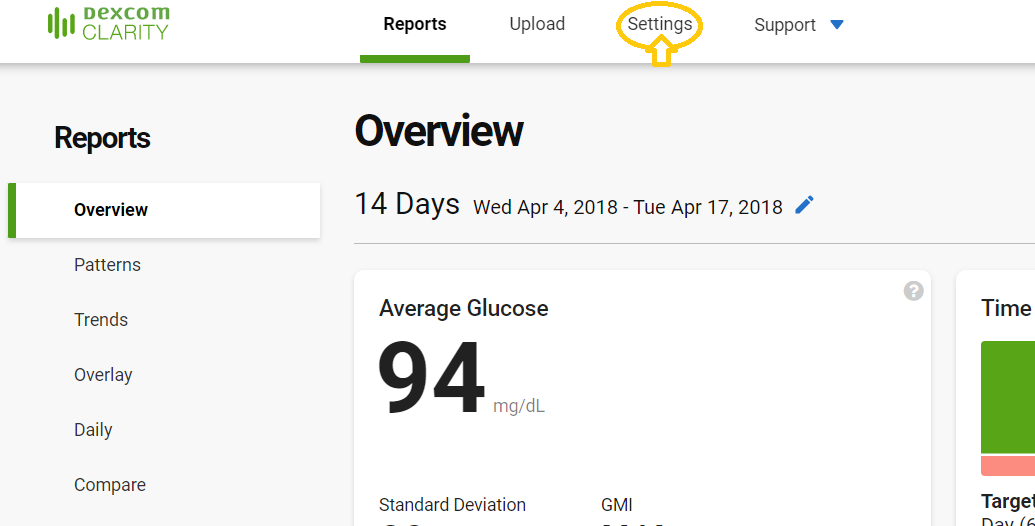
Go to the Settings tab.
Scroll down to Data Sharing with Clinics.
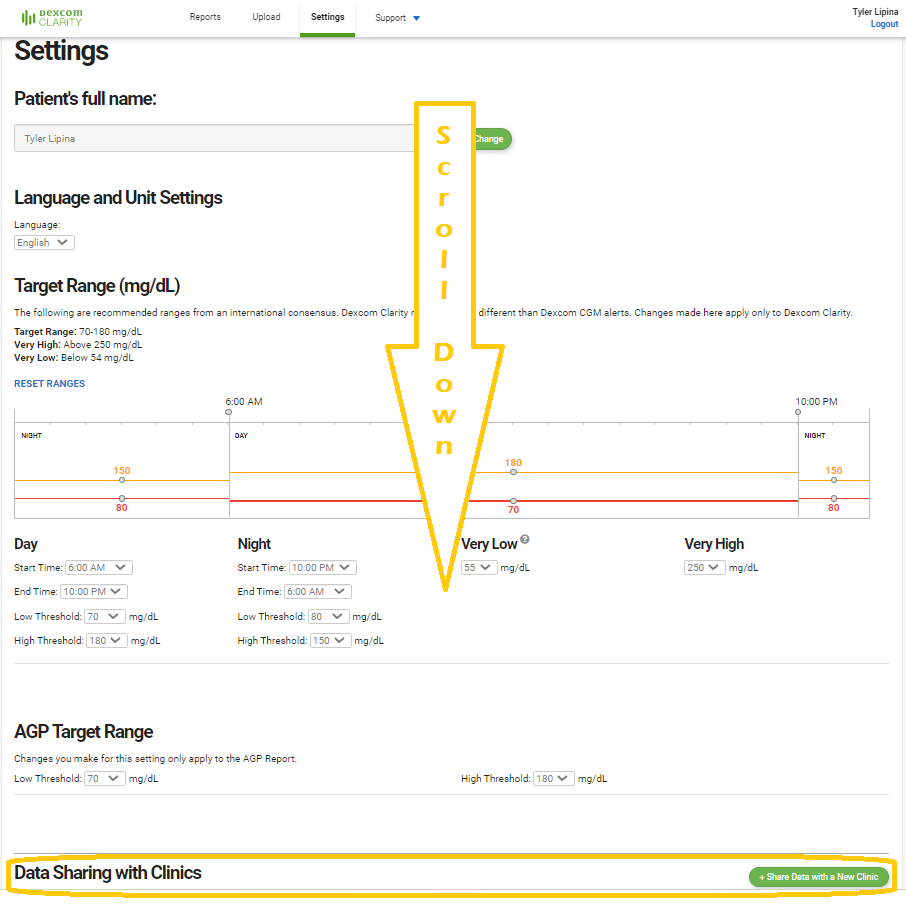
Check if BDC Pediatrics is Listed.
- If BDC Pediatrics is listed, you are already sharing.
*Clarity currently has a error and does not always display all your current sharing connections. If you have previously set this up and have not disconnected, you are likely still sharing. If unsure, you can request a new share code below and we will confirm if you are already sharing.
- If BDC Pediatrics is not listed, follow the step below.
Enter your Share Code
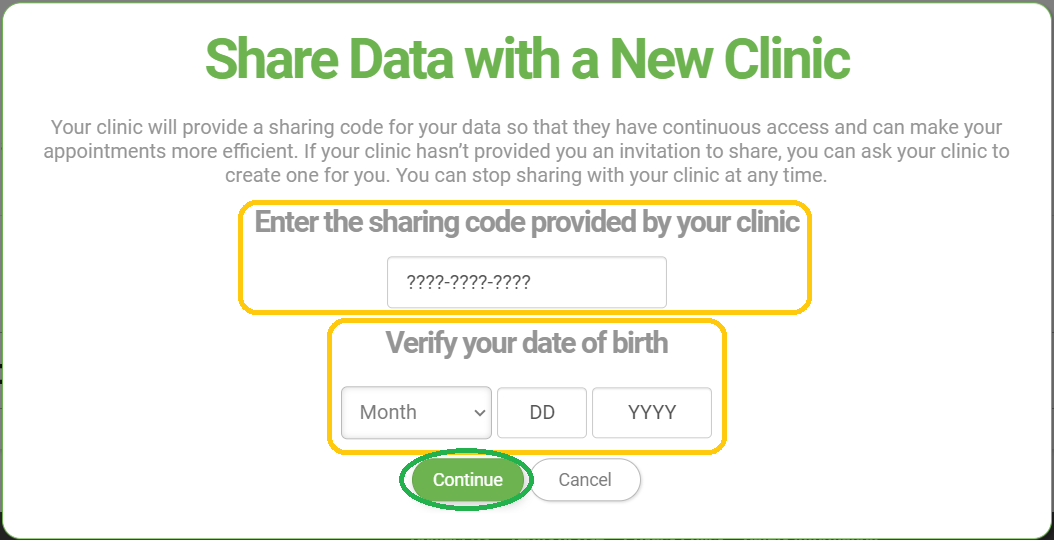
Once you receive your share code, click the +Share Data with New Clinic button.
![]()
Enter the share code "BDCPEDS1", confirm the account holder's date of birth, and click Continue.
Confirm you are sharing with Barbara Davis Center - Pediatric, consent to data sharing, and click Yes, Share My Data.
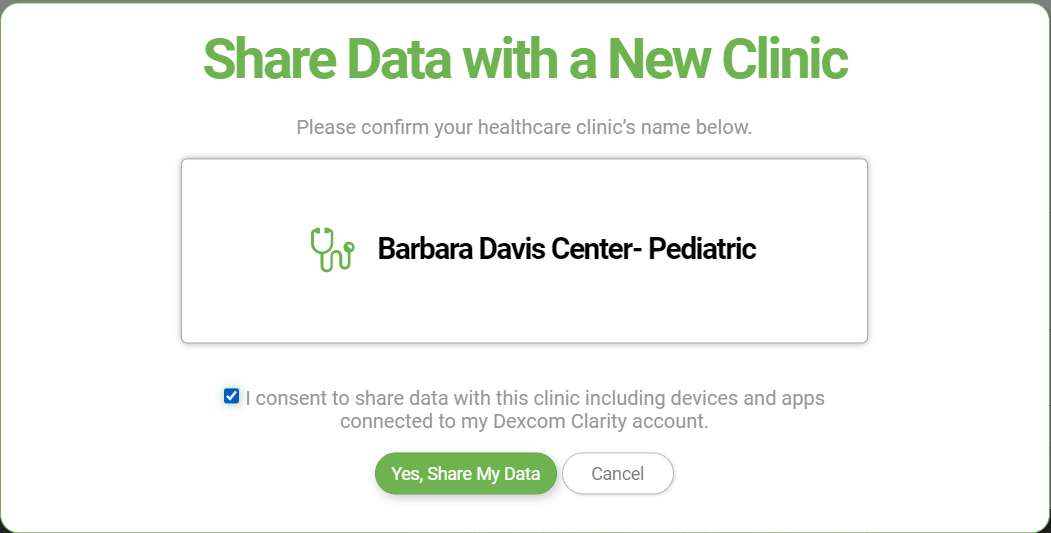
You will now see the Barbara Davis Center listed under Data Sharing.

*Due to an ongoing website error, clinics you are sharing with will not always display after the page is refreshed, however unless you stop sharing, your data will continue to sync with clinic.
You're all set!
If you have any questions or concerns, contact [email protected].